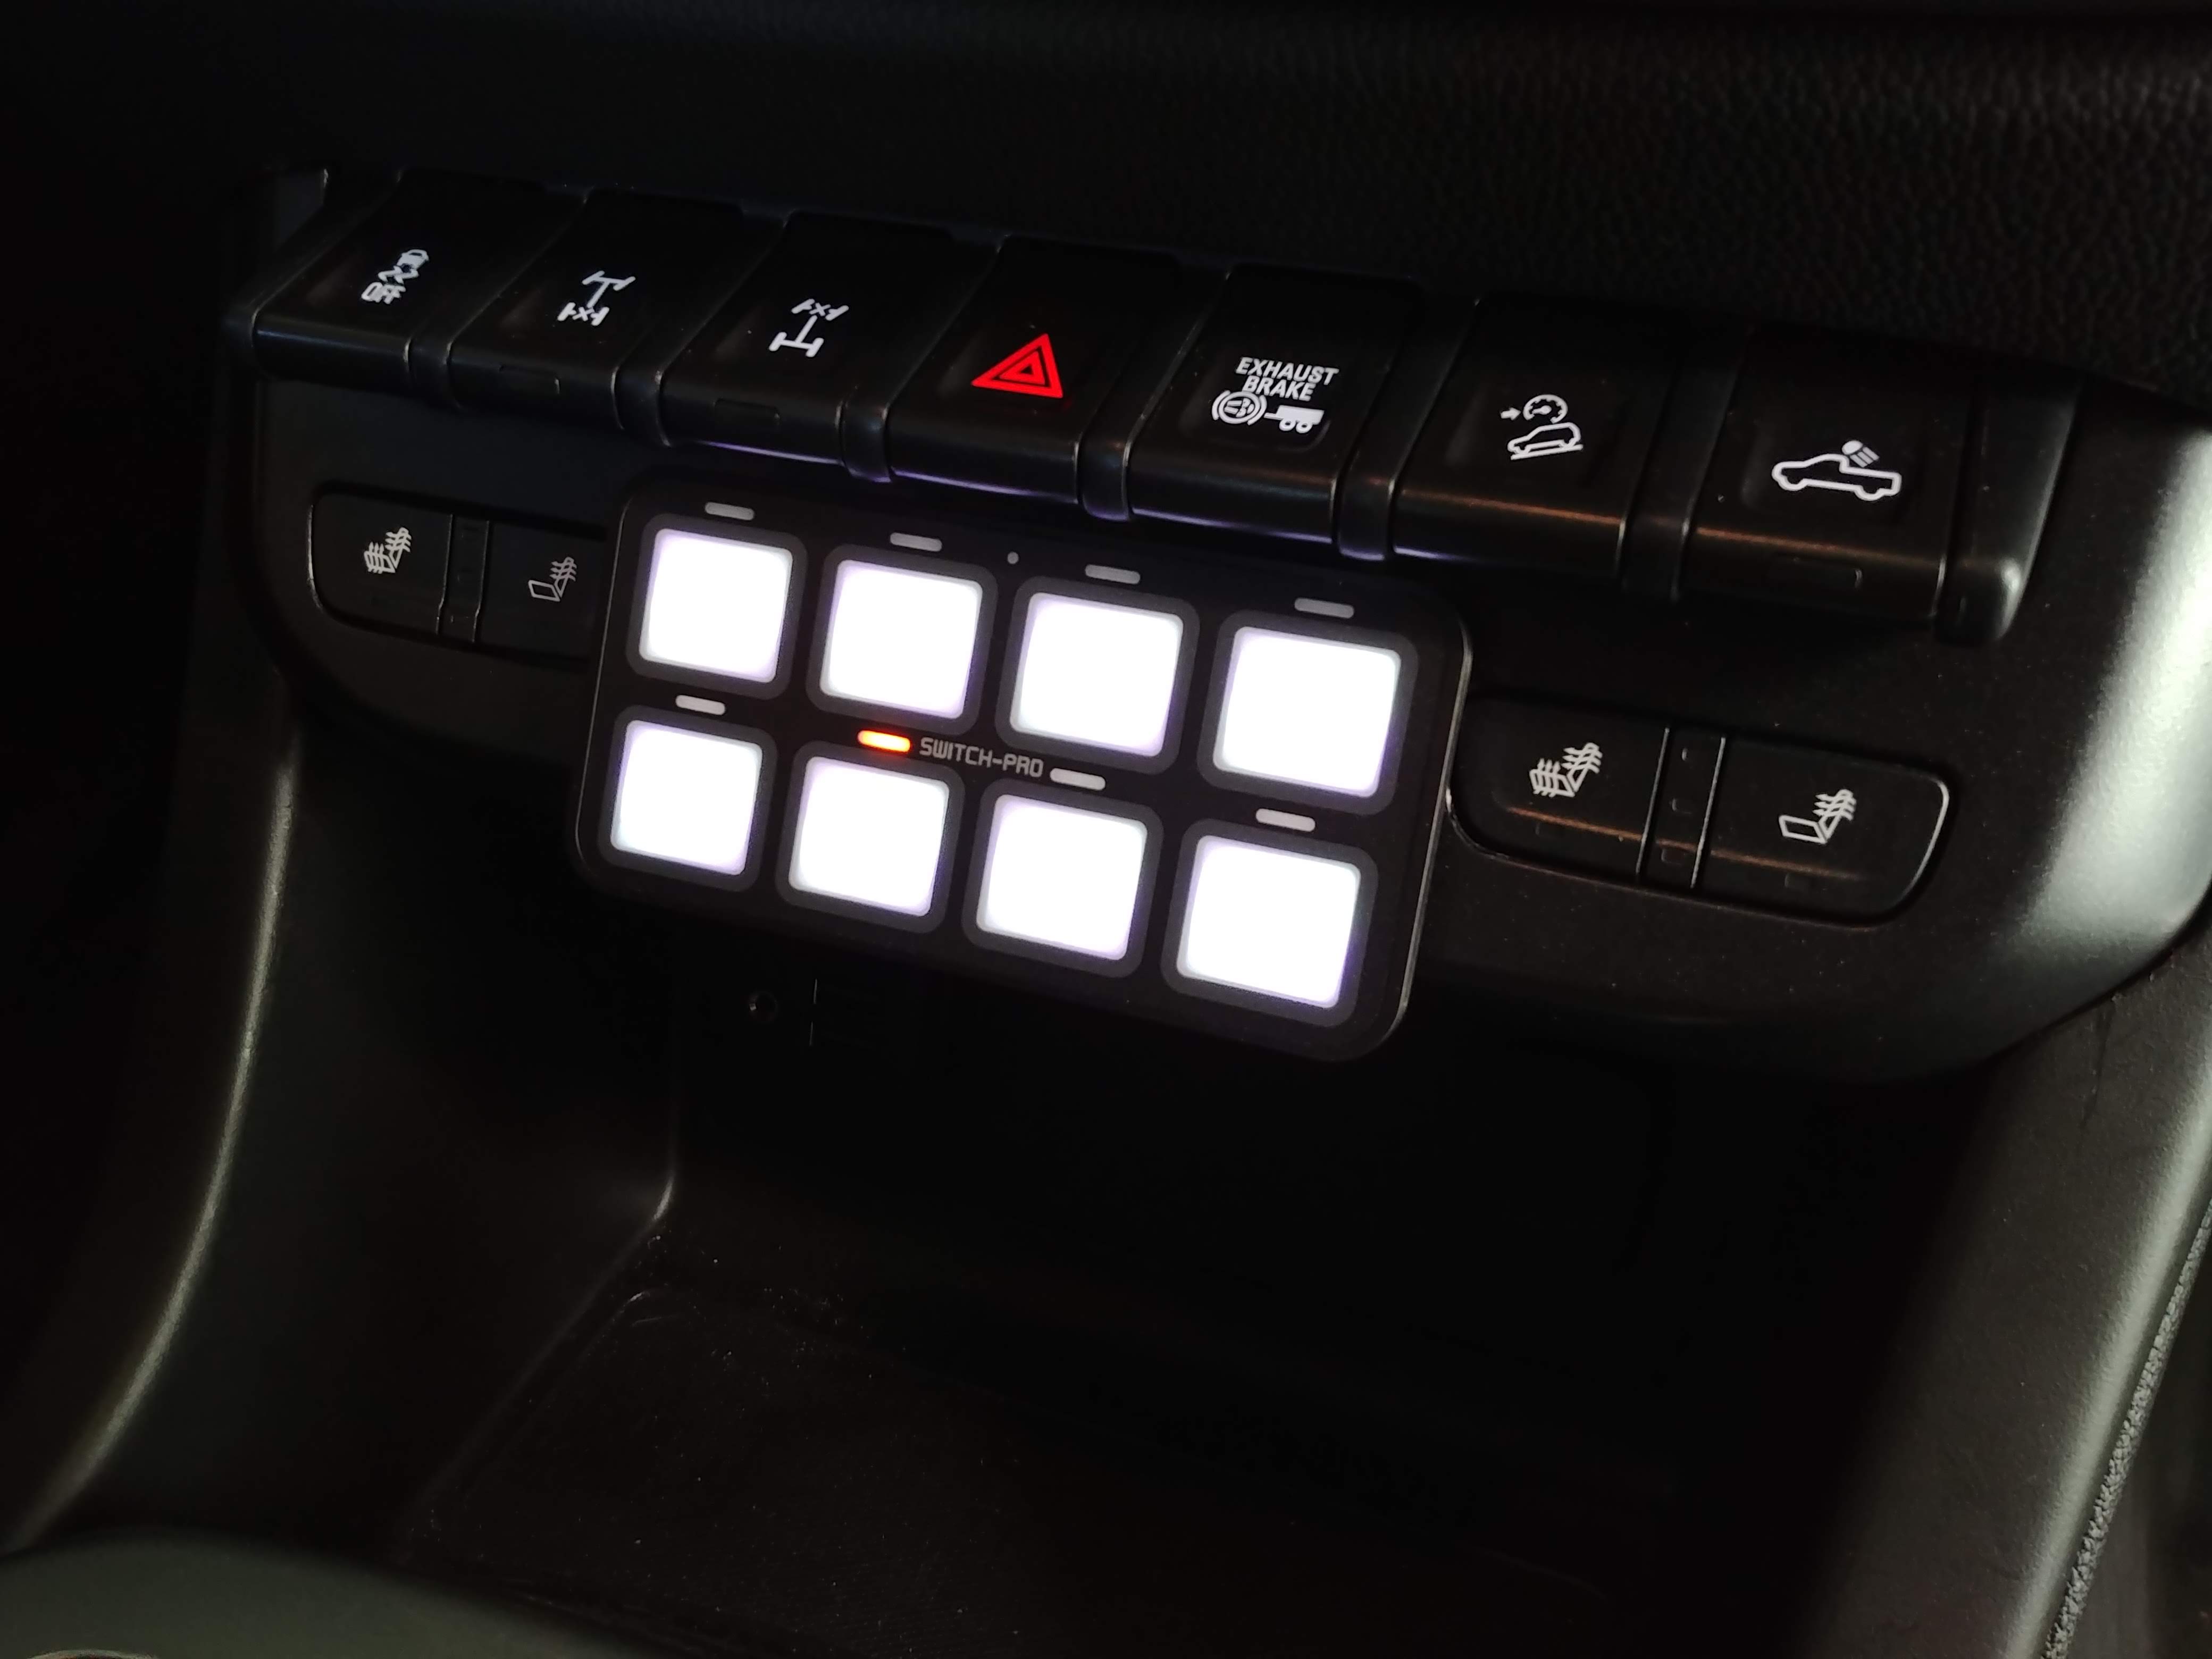
Here’s how to install the Chevy Colorado Switch Pros SP-9100 bracket, which is available at our Etsy store.
This is an adapter so that a Switch Pros SP-9100 switch controller panel can be mounted in the little dash cubby of a Chevy Colorado. This should fit 2018-2022 Chevy Colorado that have the cubby, but might fit other year models if the cubby part is exactly the same.
WARNING
Installing this panel REQUIRES removing a portion of your dash and drilling holes in it! Do not use this adapter if you are not sure you want to permanently modify this dash panel!
This is the Switch Pros kit we used in our 2019 Colorado. This is the SP-9100 8-Switch with “Concealed Mounting Hardware” – note that other kits may not include the mounting studs and nuts.
Only two of the mounting holes on the switch controller are used, and if the kit does not come with hardware, a couple of short bolts would work just as well as the studs and nuts that came with the kit.
This is made of black ABS plastic. No hardware, switch components, or any other parts are included – just the plastic adapter. You’ll need two #8 x 3/4″ bolts plus washers and nuts and some epoxy or other way to glue the bolts into place as the heads are not accessible once the assembly is in place.
You’ll need to approach this is a project with a certain amount of creativity in how you route wires, align things, etc. This adapter will make it a bit easier to install the switch controller, but it still requires work and some fabrication.
Brief Instructions:
-
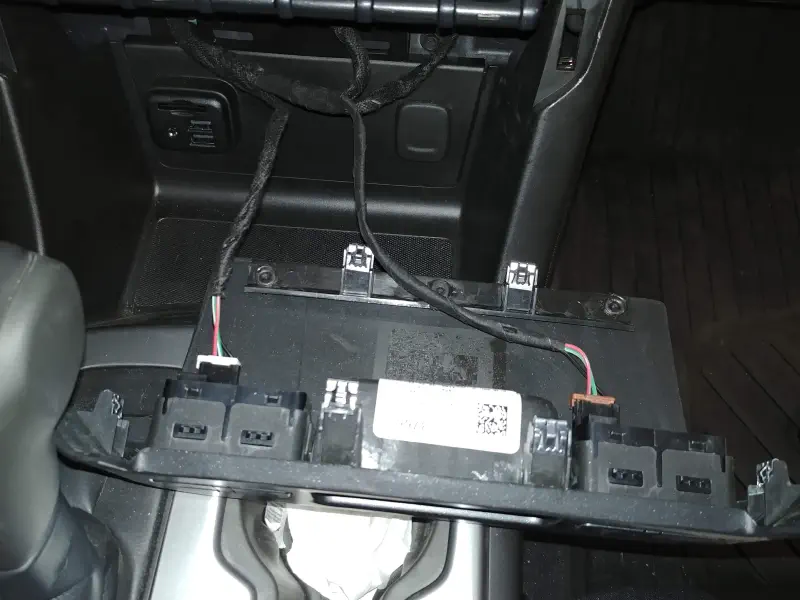
Remove the cubby dash panel. This uses spring/friction clips. You can find videos of this process online.
-
If you have heated seats or other switches on the cubby panel, note how they are wired (take a picture!) and disconnect.
-
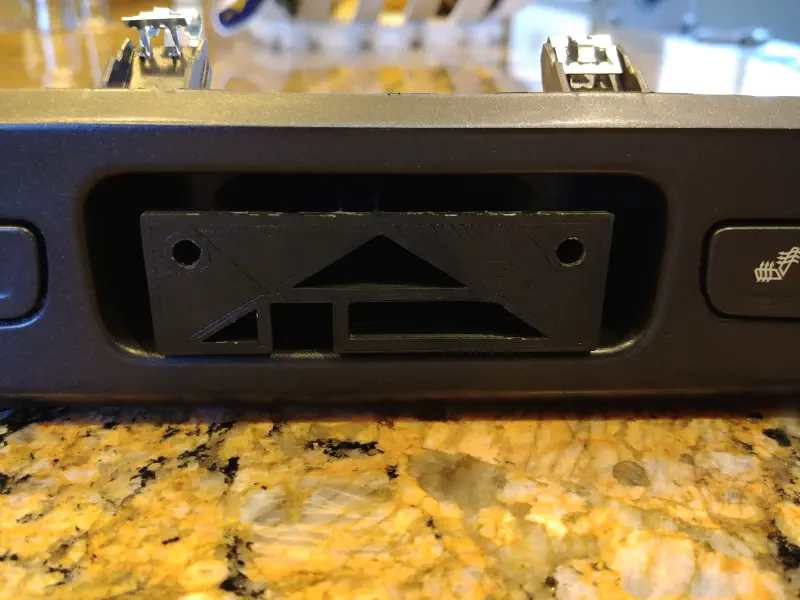
Align the adapter so it’s in the middle of the cubby left-to-right, riding the bottom edge of the cubby, and square/flush to the cubby face.
-
The front of the adapter is designed to ride the bottom of the cubby, and has a notch for the wires.
-
The front of the adapter is the thicker section with the notch and wider screw distance, the back of the adapter is thinner and has narrower screw placement.
IMPORTANT: If the switch panel is not mounted low enough (adapter front at the bottom of the cubby) the switches above will not have room to operate!
-
Using a scribe, mark the holes in the back of the adapter to the back of the cubby. There is just enough room to pass a thin scribe around the adapter.
-
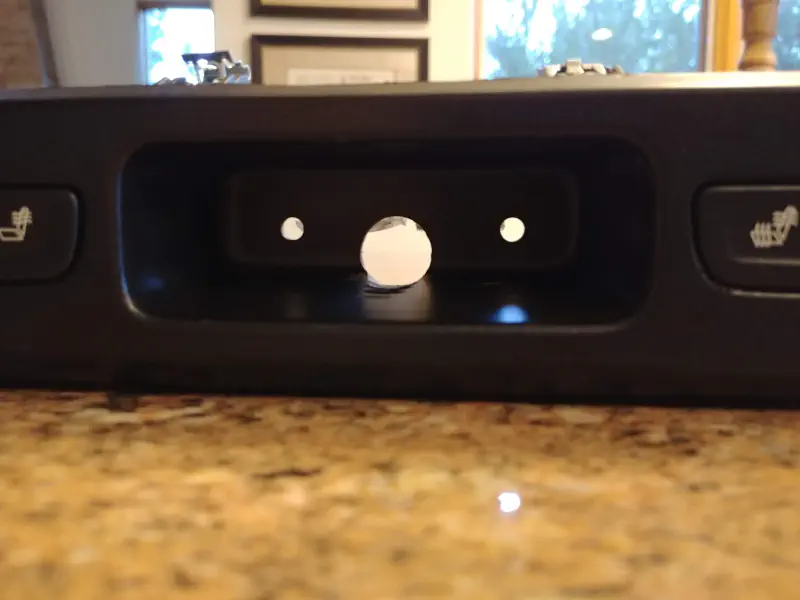
On the back of the cubby panel, drill holes for the bolts, and a larger hole in the middle but as close to the bottom as possible for the connector and wires. For the bolt holes, you may want to make the bolt holes slightly large so you’ve got a little wiggle room to get the panel level and not conflicting with other switches.
-
Epoxy (or however) the bolts that you provide into the adapter on the dash side (not the switch side!). These bolt heads are not accessible once the assembly goes into place.

-
Attach the switch controller to the adapter, using studs and nuts that come with the switch controller (note hardware may vary by controller kit, two short screws should work as well).
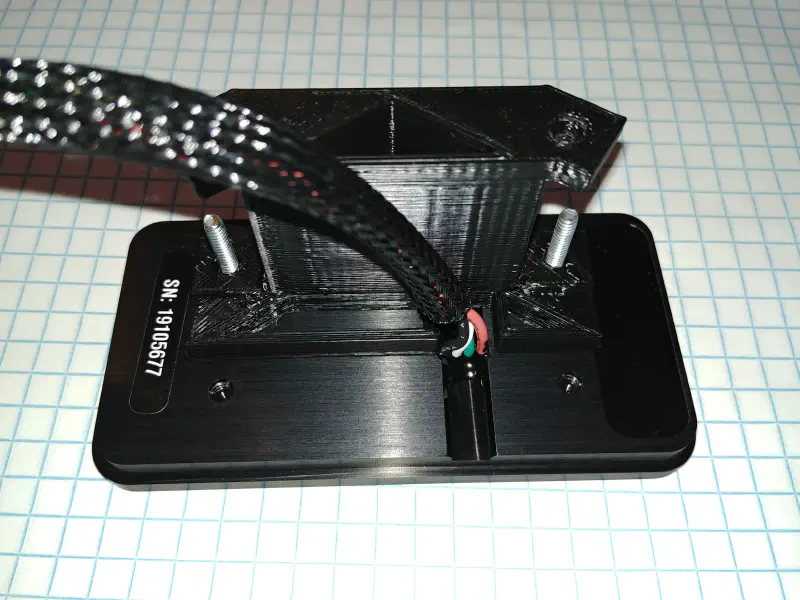
-
Run wires for the controller in the dash so it comes out behind where the cubby is installed.
-
Run the controller wire through the wire hole you drilled in the cubby and plug into the switch controller.
-
Attach the adapter+switch controller to the cubby, using nuts that you provide.
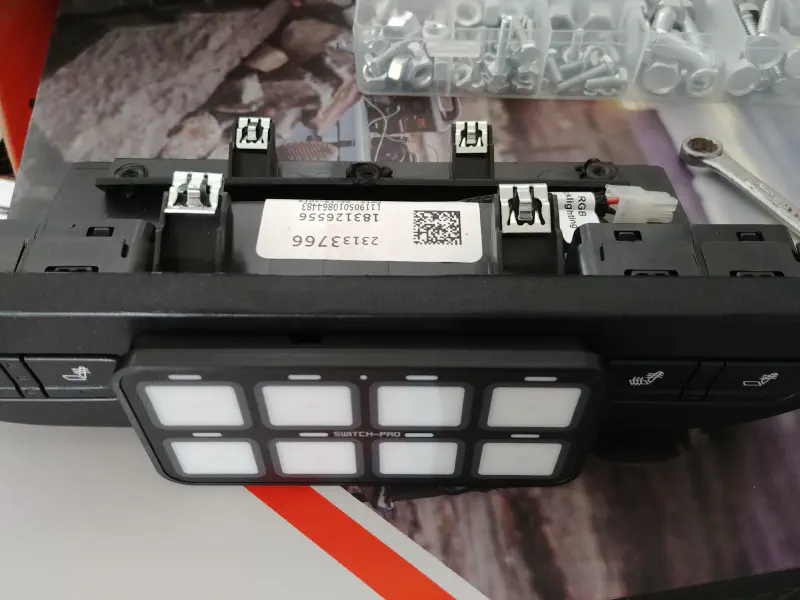
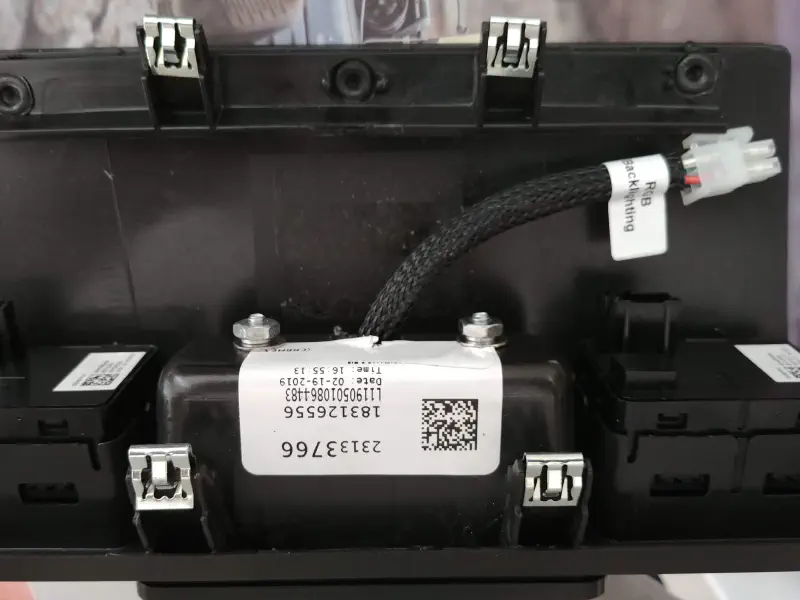
-
Reconnect heated seat/other switches located in the dash panel.
-
Reinstall the cubby panel into the dash, using existing spring clips.
Here’s a ZR2Zone forum posting with some more pictures and information.
WARNING, AGAIN
Please note that installing this adapter requires drilling holes into your dash panel! Please do not take on this project if you aren’t comfortable in doing this. Note that we are not responsible for any damage to your vehicle from the installation or use of this adapter and there is no warranty.